Friday, October 25, 2013

New StudiO Before...

Here are the new studiO befores:

It is a great space in an area called Uptown in Denver. I like it because it has that neighborhood feel while still being very urban. There are many restaurants and funky boutiques less than a 1/2 block away! AND it is only 10 minuted from home with NO highway travel- hurray!

It is in a restored Victorian House. I will be on the second floor, there are only three tenants, which makes it very quiet- yeah!
 I have a total of 4 rooms. Two will be the working areas...

Front room will be the studio area with two sunny windows!
(sorry these photos are a little pixel-ated)
Standing at the front doorway looking in...
The other space through a door way will be the office area
Looking back to the studio area
Turning and looking past the hallway to the private bath

Here is the color that I have chosen for the two rooms- I LOVE the name...Marilyn's Dress!
I have a student that has been with me for over 15 year and I was thinking about my girls when I was choosing the paint and looked at the name- just a meant to be! It is a very soft blue-grey- a little lighter than pictured here.
 

Next is the private bath
This wainscoting will be painted a charcoal grey.
And I found this fabulous tea towel by Sarah Young, that I will mount and hang in there!
 
Finally there is a small kitchenette-utility room that is now painted a faded white- I am going to have that painted a soft pink.
 
update: the walls were painted with oil base so my painter ended up painting 
the trim baseboards and windows- just perfect!

More to come after I unpack and get things in place 
so it looks fabulous for you!

Talk soon...

Friday, October 18, 2013

New StudiO!

Hello All,
After being of Pearl Street for over 15 years...I am moving my studiO.

At first it was a bit daunting to find something but I have found the most perfect space...I am very excited and with that comes packing up this present studio.

I am a fairly organized person BUT (like any good artist) I still have WAY more things than needed, with that I will be sorting and packing over the next two weeks and then moving the studio right before I go to CA to teach. Then back home from CA to unpack the new space!

I am having the new studio painted and will absolutely share the befores and afters!

Friday, October 11, 2013

Steffie Strawberry for Suzan

I posted about Steffie Strawberry last summer. Earlier this year, Suzan contacted me for a commission piece! I do love this series of Veg-Heads (and yes, I do have more rolling around in my head!)...
Ruby Radish, Penelope Pumpkin, Esperanza Eggplant, and Steffie Strawberry

I am now realizing that the behind the scene story, is as interesting to you as the doll itself and I am sharing that info with you...I love giving you the little nuances and insights that lead to a creative piece!
So, how did this commission start? Suzan sent me a photo of the draperies in her kitchen where she wanted Steffie to a part of...
Suzan said she would love for me to use a  bit of that fabric in her Steffie and sent a piece off to me.
Our main goal was for it to compliment the flower fabric of the original Steffie's skirt...Match made in heaven!
This doll is just a joy to make and I love when it can be customized for someone with their own input. I gathered other fabrics to not only compliment but hold some interest. 

I used Suzan's fabric for her torso and bright red and white stripes for her legs...can you see the interior joint gussets are a green fabric? Felt needlescuplted head and felt armatured hands. I loved working with the plaid ~lining it up just so!

Next came putting the dress together and pulling fabrics for that...
It is all in the details that helps raise your doll to the next level...

How do you symbolize the nature of the strawberry into the doll?
Sweet Strawberry Flowers
These sweet flowers are the little crowns on the strawberry plants...and so using a bit on vintage lace with flowers and scallopped edges..it was the perfect cap for this Steffie! Notice that I cut the under felt cap using scallop shears...
 

photography of Sean Ademy
 How do  you depict those tiny little seeds..why- as freckles- of course!
Little leaves make up her collar line...polka dot fabric repeats the freckles (or seeds).
Carried this theme onto the pocket. Notice the vintage velvet trim on the pocket and the wrist. I like how the green gusset just peeps out to pick up the green in the velvet.
To balace off the lace cap, I used this pretty vintage lace along the gathered hemline...also this gathering creates a roundness to the skirt that is shaped like a strawberry silhouette. Boots are made from a scrolling gold vine fabric. To pick up the polka dots, I added yellow bows over the repeated green velvet ribbon at the boot top.

All in all, she was a delight to create! I hope you like her too! I know she will be so happy in her new home!

 These Veg-Heads patterns are available though Dollmaker's Journey.

UPDATE!
I emailed a photo of Steffie to Suzan and she loves her...so much that she wanted another outfit! And SOOooo...

I created a special ensemble for her of a Swing Jacket and Pleated Cuffed Pants! How fun is this!!


Friday, October 4, 2013

Alma Benita ~the Doll

This is the final posting for the Journey of Alma Benita.
Now it is time to share what I gleaned from these years of the experiences and inspirations...how was all this caught into my hands?
 
If you look back you will find these inspirations below scattered within the past postings and now brought together as the key elements that I felt important in creating Alma Benita...
 
And taking these inspirations... Alma Benita...
Held in a Private Collection
Front view

 Back View
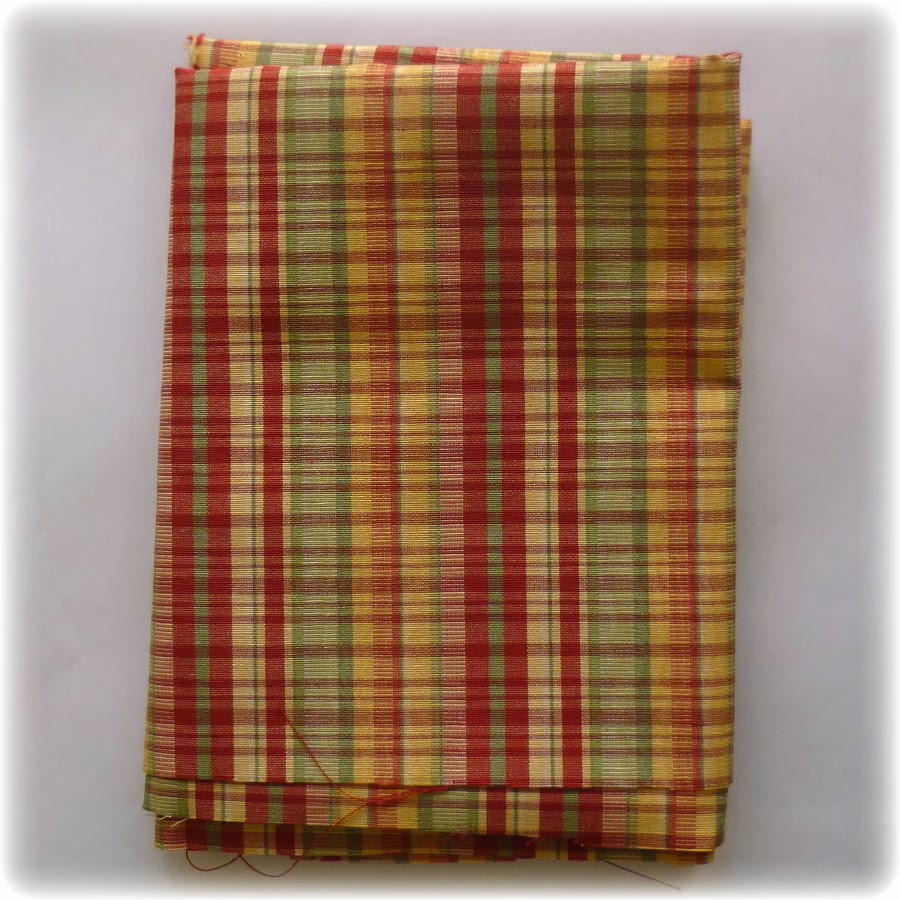
Alma Benita is made of silk crepe  
and is designed to be a wall mounted piece. 
Approximately 30" tall.

I am going to start with the White Feather. I loved the floatiness of the feather...being able to take flight and still symbolizing a softness and transparency.

I found a very delicate sheer linen fabric. It was as if I was actually working with feathers. So light and transparent, every cut edge needed to be stabilized. I needed to use a very light hand while sewing to make certain the gown would be secure but still represented the lightness and floatiness of a feather.

 Gentle Face
I loved sculpting this face, I wanted it to be gentle with an innocence but still holding wisdom in her eyes.  
Head is clay with overlay of silk crepe 
and hand-painted eyes.

Back of Bodice
I used mainly gold as an accent color, tiniest seed beads for her buttons and gold metallic thread to bind her herringbone braid. Also note that the bodice arches downward in the back to add in the design to create the added length of the skirt in the back.

  Jointed Arms
This fabric was so perfect for the sleeves, which I left unlined so the viewer can see her jointed shoulder and elbow.

Long Hands (and Toes)
The hands have a copper armature within and were needlesculpted and tinted with chalks to define the palm and finger joints. In some cases on my dolls, I love to show the tiny hand stitching as in this case with the pad of her hand.

Metal Crown
This was the challenge for me in this piece. I first made a head ring from a stabilize linen. I used millinery horsehair for the stabilzer which gives it strength and flexibily.
The roses came next. I gathered silk and leather flowers and cut them apart to only put them back together in a more pleasing fashion. I spray painted them with a pewter color, then hand painted them with metallic gold  acrylic and the final touch was gently adding liquid gold leaf. I was very happy with the step of the gold leaf that I also used on the flame of the Corazon below.

Corazon (Heart)
Casa ( House) 
I cut the base from fine foam and sewed the flame area to define it.  Printed the word Casa onto silk and hand appliqued it to the silk velvet which was overlaid onto the painted foam. I hand-sewed the vintage metal cording around the heart to frame it.

Spanish House Blessing
I love words interpreted somewhere onto my pieces. Initially, I printed the Blessing onto paper and enclose it with in the hem...just didn't work. So I reprinted the Blessing on the same silk used for the lining and pantaloons and hand appliqued it around the skirt, I was happy. You can see her toes peeping out from beneath.

This doll  was not only a summation of many years of experience but also a healing experience to know where I came from and what makes me tick. With that foundation in place, I believe I can pass on this Blessing to you through these dolls...

House Blessing 
Que Dios Bendiga esta Casa con Paz, 
Salud y Riqueza.
Que Lamisma sea Morada de Allegria, 
Amor y Prosperidad.
May God bless this House with peace, Health and wealth.
Lamisma (under the same) make a happy habitation, love and prosperity.

Related Posts Plugin for WordPress, Blogger...