Hello All and Welcome,
This is a series of postings for the Cicada, I'm going to be sharing with you not only my process in technique with photos but also my philosophy behind my dollmaking- doll creating!
I feel that understanding your own personal style of creating is important. We all receive inspiration in different forms...and it is how we put that inspiration to work that is a key ingredient in our creations!

Personal Style
This has been a long discussed topic for as long as I have been creating and probably before and will continue after.
For me the bottom line is follow what is in your heart and create that from your gut...listen. In the beginning you will mimic and probably down right "copy" another's work, but to be able to sell and to make your own way in the world you must listen and find your own voice to be authentic and to feel good about what you are creating.
Trust yourself- it's there!
I have many different doll creations but I (hope) and believe that my style is clear.

Home and Devotion
Home...I feel my love can be in more than one place.
My heart of my home is with my husband, Sean and our funny old cat Issy. It is what makes me feel safe and loved.
My voice of my home is in my art. It is what makes me an individual and independent.
One way that I know that I have my true voice in my creations is my devotion to my art. I have worked hard at learning my craft for over 25 years and from that came my own style. I have worked equally as hard in the past five years with personal growth and still continue.
My home is my family and my art...and in my keeping my own mind, body, and soul fully nourished and in shape so I can be the best to all including myself. I find that all are connected.
The Cicada Head Process
In starting a new series, I look for visual and symbolic inspiration to be able to most importantly find my way to create what is in my style.
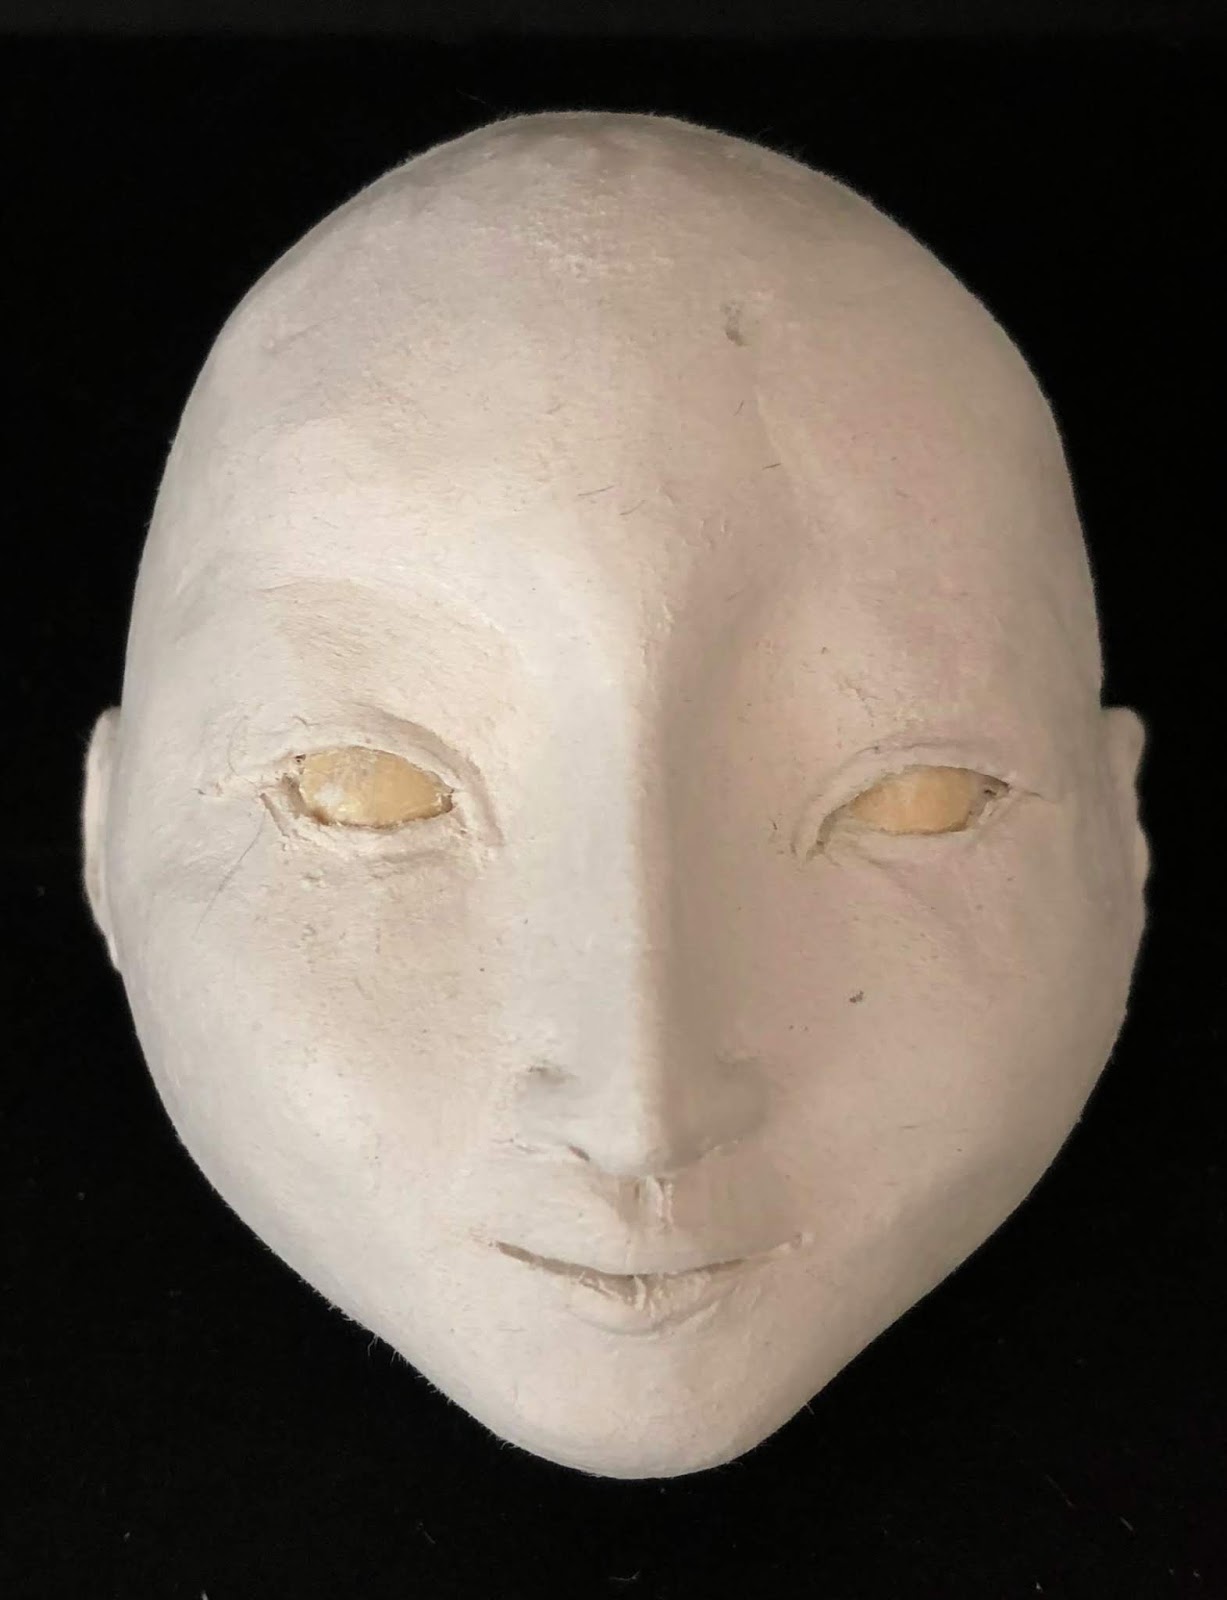
This Cicada head took me three+ days to sculpt, so to be able to create a series I take a mold of the original sculpt.
I will create a two piece mold so I can have a ball jointed head.


Here is the pouring product I use for the reproduction. I find it also user friendly. Take note of the two head pieces. I need for the head to be hollow so I can work within it so there is an egg shape that fits within to create that open space.

Once the product is fully cured I removed it from the mold. This product is extremely hard and durable. Interestingly, when fully cured it "tings" like ceramic! I may need to do a bit of touch up because of slight air bubbles and sand to a smooth surface. This is also at this point where I can also alter anything I wish- like eye shape- nose shape - even basic face shape etc.
This below is just out of the mold before making refinements.

After everything is to my liking, I then cover the head with fabric. My newest favorite is a linen weave mat silk. I love the earthy texture of it!
Below is original head and head covered in silk. The top of the head (on the right) will be covered in a fabric that is the same color of the hair and then hand-sewn into place.

I find each step of creating a piece to be thoughtfully important. How am I to create without that stillness inside me to be able to "hear" where it is to go?
I will create a two piece mold so I can have a ball jointed head.

This is the molding compound I use. I find it very user friendly and it creates clear crisp reproductions that I can use most air-dry clays to alter if I wish.
Here is the head covered and you can note the very top is not yet covered. I will remove this part when cured and take a new mold for the head top. it is also labeled "Insect".


This below is just out of the mold before making refinements.
After everything is to my liking, I then cover the head with fabric. My newest favorite is a linen weave mat silk. I love the earthy texture of it!
Below is original head and head covered in silk. The top of the head (on the right) will be covered in a fabric that is the same color of the hair and then hand-sewn into place.
I find each step of creating a piece to be thoughtfully important. How am I to create without that stillness inside me to be able to "hear" where it is to go?

Cicada Body Process
As I stated, I love using this new(er) linen weave silk. For this piece I felt it important that she has a feeling of being from the ancient world...so I tea dyed the fabric and let it sit in the tea bath where the tea could settle to create organic depth.

In designing this body, I wished for her to be very lean and long...extended (following suit with her long features of her face). She will also be kneeling so I need to create a two piece leg that I can position and create balance.

My Wish...
My wish for you, my dearest reader, is that you too will be able to incorporate not only my tools of the trade but develop your own philosophy to carry within your heart...your home...and into your work.
xoxox