Hello again!
As I have stated this series is going to be about techniques but also about my philosophy as I create the Cicada.


As I have stated this series is going to be about techniques but also about my philosophy as I create the Cicada.
I find that my art is all about the layers that I build in creating a piece. I feel that layers are so important in being able to communicate or hopefully reach others to understand what you are trying to convey.

I've prepared, know my symbolism and done my research.
At this point, I believe I have created my Step One in a solid inspirational and soulful foundation.
See Part One here if you missed it!
In building these layers, we build good purposeful art...

I find that when I am creating...it is important to let the piece drive you...not you drive the piece...
in other words, let your soul and your hands create the piece not your control or your mind.
Art is about not overworking it. One art teacher told me "You never complete a piece, you abandon it". In this way of listening and not controlling, you will be able to clearly see what needs to be edited and what needs to be kept. What conveys in a clear "visual" meaning without having it to be explained to the viewer.
What the piece reflects in its feeling or emotion.
You have that voice...that magic inside you!

In this posting, I will share my thoughts on my techniques and tools...
Tools of the Trade
I always like to start with sculpting the head... it sets the tone for the entire piece.
Here is what I like to work with and why...
My Inspiration photo:

It helps me greatly to have a photo to refer to. I love how each ethnic group has these...I find beautiful...nuances in proportions and I get a sense of their culture through their skin tone and hair texture.
My Tools:
I start with a styro form egg that I cover in DAS air-dry clay.

I like DAS because it has a bit of elasticity to it while stiff enough to hold a firm edge. I also live in a very dry climate and find this clay holds its moisture better than other air-dry clays.
Below is the covered egg that I then sand to a smooth finish after it is thoroughly dry (usually over night).
This covered dried clay egg serves as a good foundation so I can add clay without having the foundation distort!

Besides my hands, here are my favorite sculpting tools...

- A damp towel to wipe my hands and also to "hold" clay that has been prepared...which means it has been kneaded to soften and also a bit of water added in.
- Two spatulas. One for cutting the clay the other for creating a flat plane.
- A chenille needle. I love this for detail work and the eye end for creating the tear duct area.
- Sculpting tools for creating arches and smoothing.
- A tool I found in a quilting shop...not so sure what it is for but I love the small pointed end.
- And my hands down favorite tool- a soft tipped manicure stick. I use the soft end for defining curves and the clear place stick for blending in clay.
Reference:
When I first started sculpting I really needed guidance on what I was observing, so I would make several photocopies of my subject and draw out the planes of the face. This helped me understand that each face has common features but the height, width, and the shape of each section would vary slightly. These combined sections would give the effect to create what I was observing.
Sculpting
I find that I do enter into a zone...a mindfulness...fully focused on every detail. I do need to wait for the clay to dry in the larger sections before I can proceed with the tiny details. Time passes as I sculpt and I find that I am amazed at the end on how it all came together...where did that come from? I feel that it is truly my soul guiding and showing me each step.
For me, sculpting is a very personal intuitive process of observing and then applying the clay. After each step, I go back and look at the inspiration photo and will see the next step "shown" to me. I am not a fast sculptor taking days to refine each small detail.
I have also taught sculpting over the years, but found that I was sculpting for ten years before I felt "ready and able" to teach it. I still struggle a bit with teaching it since it is so personal and how you see the inspiration to be sculpted. For me sculpting is about observation and how you interpret that into the clay!
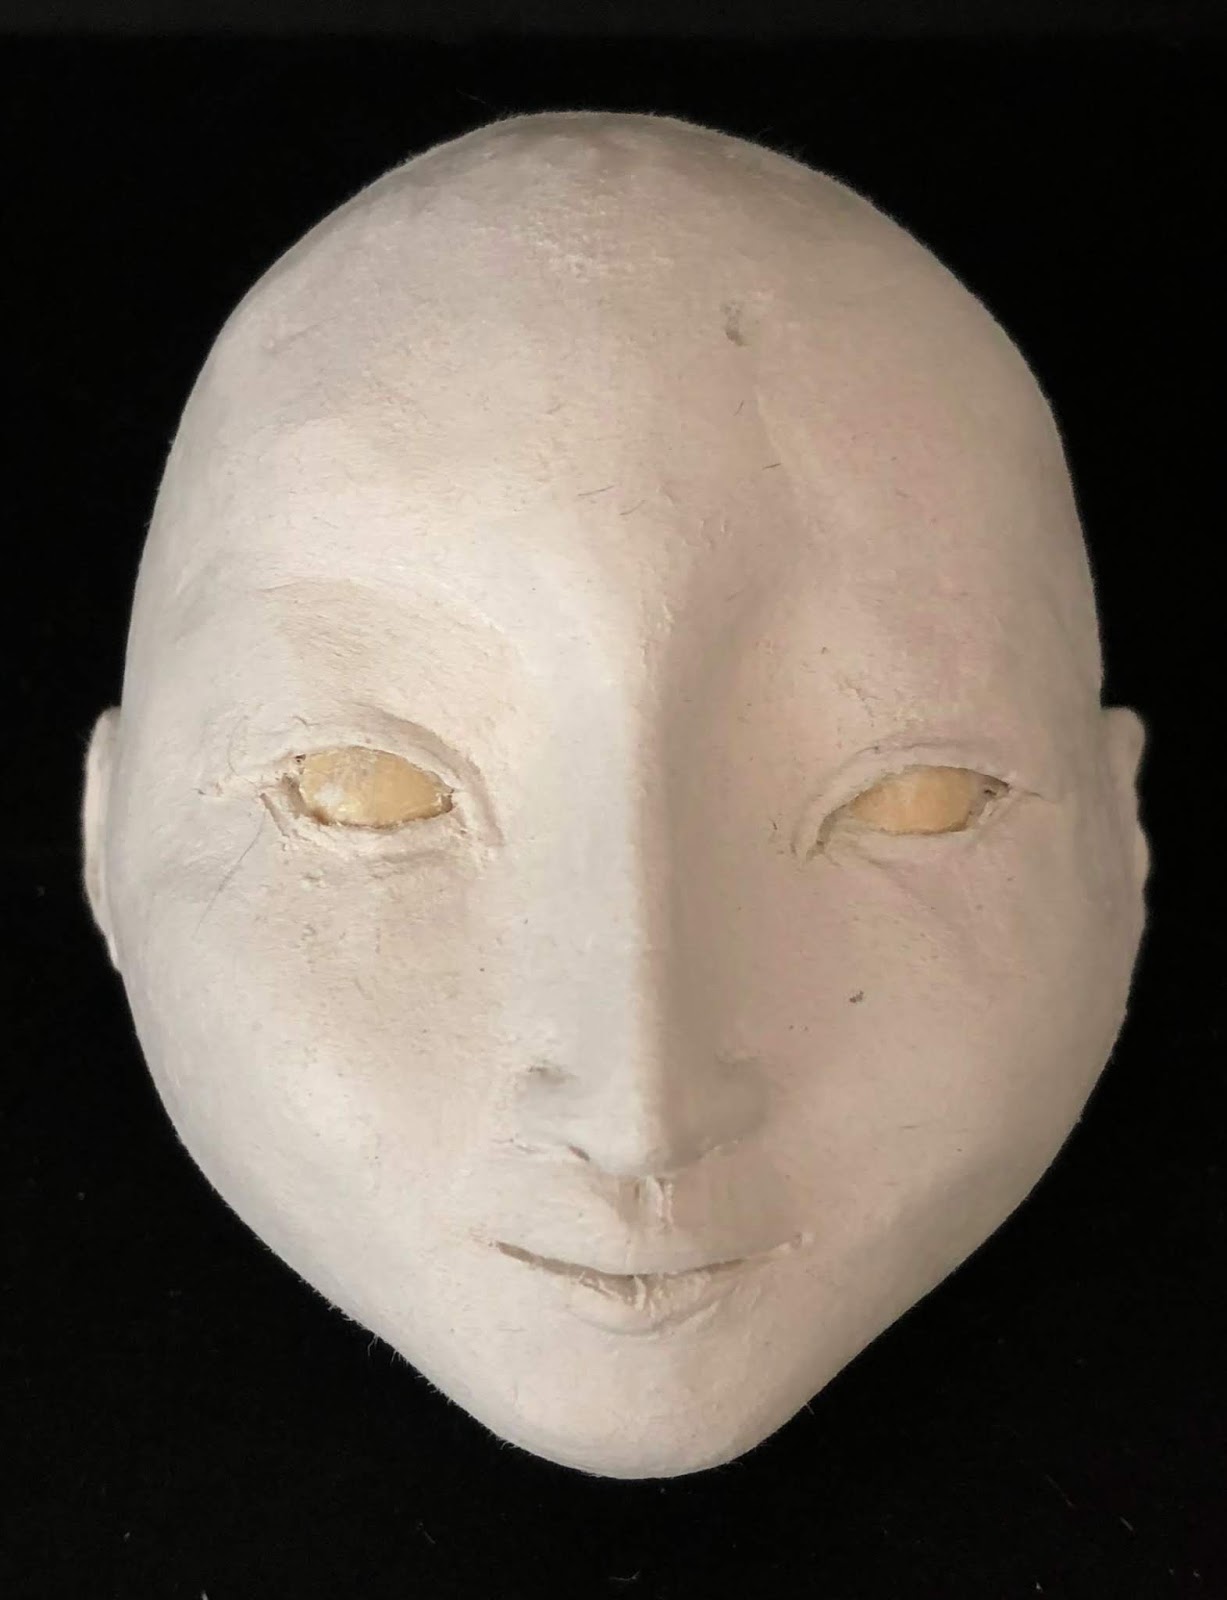
Below are images of the head sculpted with a few fine clean ups needing to be done.
I did have to cut away part of the egg shape since it was too bulky in the back area were the neck would be inserted. This will be a jointed head.
As I see it now, as we are looking at it I still need to reshape and clean up the left eye as we facing it and I will re-sand to a smooth and congruent flow of a total face not as added pieces of clay!
Please take a re-look at the inspiration photo below these sculpting photos at different angles